

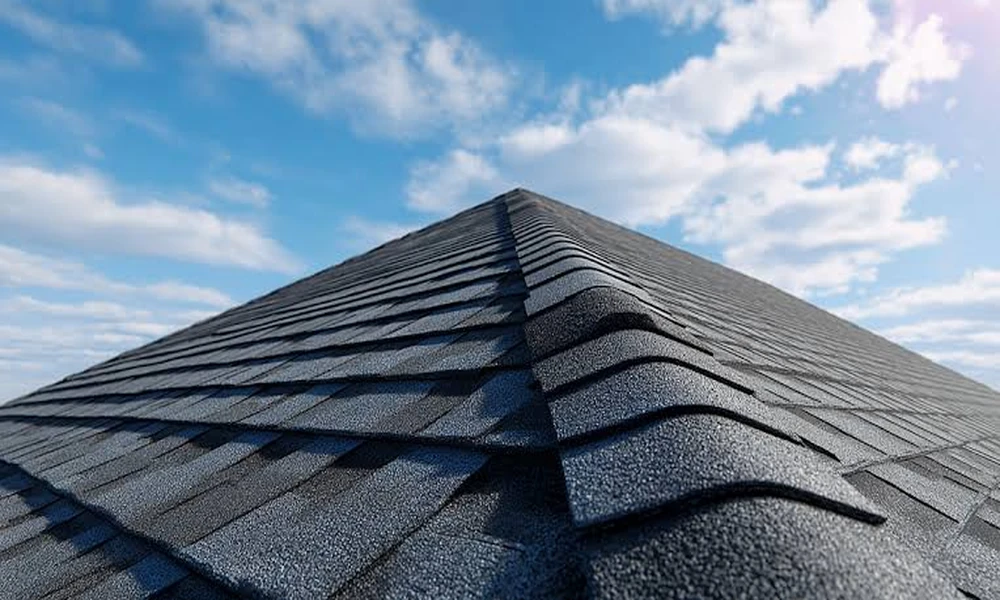
When most people picture a roof, they picture shingles. But shingles are just the outermost layer of a system with many parts, and every one of them has to do its job for the whole roof to last. A leak often starts in one layer and shows up in another, which is why a good Walled Lake roofing company looks at the entire system instead of just the surface. Let’s peel back each layer, from the sky down to your living room ceiling, and see what it does and what can go wrong.
Layer One: The Shingles or Surface Material
This is the part you see. Its job is to shed water, block sunlight, and take the beating from wind, hail, and snow.
What healthy looks like: Flat, evenly colored shingles with granules intact and no gaps.
Warning signs:
- Curling, cupping, or lifted edges
- Cracked or missing shingles
- Bald spots where granules have worn off
- Heavy granule buildup in the gutters
- Moss or algae that holds moisture against the surface
Layer Two: Flashing
Flashing is thin, waterproof material, usually metal, installed wherever the roof meets something else: chimneys, vents, skylights, walls, and valleys. These are the most leak-prone spots on any roof, because water naturally gathers there. The U.S. Department of Energy notes that moisture can enter an attic through leaks in the roof or improperly installed flashing around chimneys and other roof penetrations.
What healthy looks like: Tight, sealed metal with no rust, gaps, or lifted corners.
Warning signs:
- Rust or corrosion on metal pieces
- Dried, cracked sealant
- Stains on the ceiling near a chimney or wall
- Daylight or dampness visible around penetrations
Layer Three: Underlayment
Underlayment is the protective sheet installed beneath the shingles. It acts as a second line of defense when wind-driven rain gets past the surface. You will not see it on a finished roof, but it matters a great deal, especially along the eaves and in valleys where water collects.
What healthy looks like: An intact, correctly overlapped layer with no tears or wrinkles, installed with the roof deck properly dry.
Warning signs: Because it is hidden, trouble shows up indirectly: recurring leaks in spots where the shingles look fine, or water marks on the roof deck during an inspection.
Layer Four: The Roof Deck
The deck, usually plywood or boards, is the structural base that everything else attaches to. It must stay solid and dry to hold nails, support weight, and keep the surface flat.
What healthy looks like: Firm, level, and dry, with no soft or dark patches.
Warning signs:
- Sagging between rafters
- Spongy or soft spots underfoot
- Dark stains or mold on the underside from inside the attic
- Shingles that look wavy or uneven
Layer Five: Ventilation
Ventilation is the layer people forget, and it may be the most important one for longevity. According to the Department of Energy, improper attic ventilation allows moisture to build up and can cause mold, ruin insulation, and damage wood. A balanced system uses intake vents under the eaves and exhaust vents near the ridge. The DOE guide suggests that replacing the panels under the roof eaves with ridged vents lets air enter below the overhang, and pairing them with a ridge vent increases effectiveness.
What healthy looks like: Clear soffit vents, a working ridge or roof vent, and air that moves freely through the attic.
Warning signs:
- An attic that feels stuffy or very hot in summer
- Frost or condensation on the roof deck in winter
- Shingles that age faster than expected
- Blocked soffit vents choked with insulation
Layer Six: Attic Insulation and Air Sealing
Insulation keeps heat inside the living space where it belongs. Air sealing stops warm, moist air from rising through gaps into the attic. Both protect the roof indirectly, because they keep the roof deck at a stable temperature. The DOE recommends you seal air gaps around ductwork, wires, plumbing, lighting fixtures, and attic entryways, and properly insulate the attic, including the eaves.
What healthy looks like: Even, fluffy insulation at the recommended depth, with no compressed or damp areas.
Warning signs:
- Cold spots or uneven temperatures in upstairs rooms
- Wet, matted, or discolored insulation
- High heating bills with little explanation
- Visible daylight around the attic hatch or pipes
Layer Seven: The Moisture Sources You Cannot See
The last layer is not part of the roof at all. It is the humid air produced inside your home. The DOE offers a clear warning here: venting kitchen ranges, bathroom fans, and dryers into the attic is a major source of moisture and a bad practice, and should be corrected immediately if found. Fans should vent outdoors, not into the attic space.
What healthy looks like: Every exhaust duct runs all the way to the outside with a proper cap.
Warning signs:
- Damp, musty smell in the attic
- Mold or mildew on rafters or sheathing
- Rusty nails poking through the roof deck
Putting It All Together: A Quick Self-Check
You can learn a lot in fifteen minutes without ever climbing onto the roof:
- Walk around the house and look at the shingles through binoculars.
- Check the gutters for granules and debris.
- Look at ceilings and walls for stains, especially near chimneys and exterior walls.
- Peek into the attic with a flashlight, looking at the underside of the deck, the insulation, and the vents.
- Confirm that all exhaust fans and the dryer vent to the outside.
- Note anything suspicious and take photos for a professional to review.
The DOE lists several signs of possible water intrusion that apply here, including warped or rotted soffit panels, bubbled paint at fascia boards, worn or warped shingles at roof edges, wet insulation near the eaves, and mold or mildew on attic surfaces.
When to Bring in a Professional
Call a qualified roofer if you notice:
- Leaks that return after repairs
- Sagging or soft areas in the roofline
- Widespread shingle wear or hail and wind damage
- Persistent attic moisture, mold, or heat buildup
- Any damage near chimneys, skylights, or valleys
A good inspection looks at each layer in turn rather than slapping a patch on the visible symptom. That is how problems get fixed at their source, and how a roof reaches the end of its expected lifespan instead of failing early.
Final Thoughts
A roof is a team of layers, and the team is only as strong as its weakest member. Healthy shingles need sound flashing, a protected deck, balanced ventilation, and a dry, well-insulated attic beneath them. Check each layer, fix small problems early, and your roof will do its job quietly for years.