
When it comes to enhancing curb appeal and protecting your home from the elements, exterior house painting is one of the most effective upgrades you can make. Whether you’re preparing to sell your home or simply want to refresh its look, a quality paint job can make a world of difference. However, a flawless finish requires more than just a brush and a bucket of paint—it demands preparation, precision, and the right technique.
In this guide, we’ll walk you through a comprehensive 10-step checklist to ensure your exterior house painting project is a success.
1. Inspect and Assess the Surface
Start by walking around your house and carefully inspecting all exterior surfaces. Look for signs of peeling paint, mold, mildew, cracks, or water damage. These issues must be addressed before you begin painting to ensure the new paint adheres properly and lasts for years.
2. Clean the Exterior Thoroughly
Dirt, dust, and mildew can ruin a paint job before it even begins. Use a pressure washer or a hose with a scrub brush and mild detergent to clean the entire exterior. Pay special attention to areas under eaves, near downspouts, and around windows.
3. Scrape and Sand Peeling Paint
Once the surface is dry, scrape off any loose or flaking paint. Then, sand the rough edges to create a smooth transition between the old paint and the bare surface. This step is critical to achieving a professional finish in your exterior house painting project.
4. Repair Damaged Surfaces
Patch cracks and holes with the appropriate filler. Replace any rotting wood, damaged siding, or cracked trim. A solid surface is essential for both aesthetic results and long-term durability.
5. Protect Windows, Doors, and Landscaping
Use painter’s tape, plastic sheeting, and drop cloths to cover areas you don’t want painted. Protect shrubs, flowerbeds, decks, and windows. Proper masking not only saves time in cleanup but also prevents accidental overspray.
6. Prime Bare or Repaired Areas
Primer helps paint adhere better and creates a uniform surface. Always prime any bare wood, patched spots, or areas with major discoloration. For older homes, a stain-blocking primer may be necessary to prevent tannins or watermarks from bleeding through.
7. Choose High-Quality Exterior Paint
Select a premium-grade exterior paint designed for your local climate. For example, if you live in Colorado, you’ll want a paint that withstands intense sun, snow, and temperature fluctuations. Investing in quality paint pays off in longer-lasting color and protection.
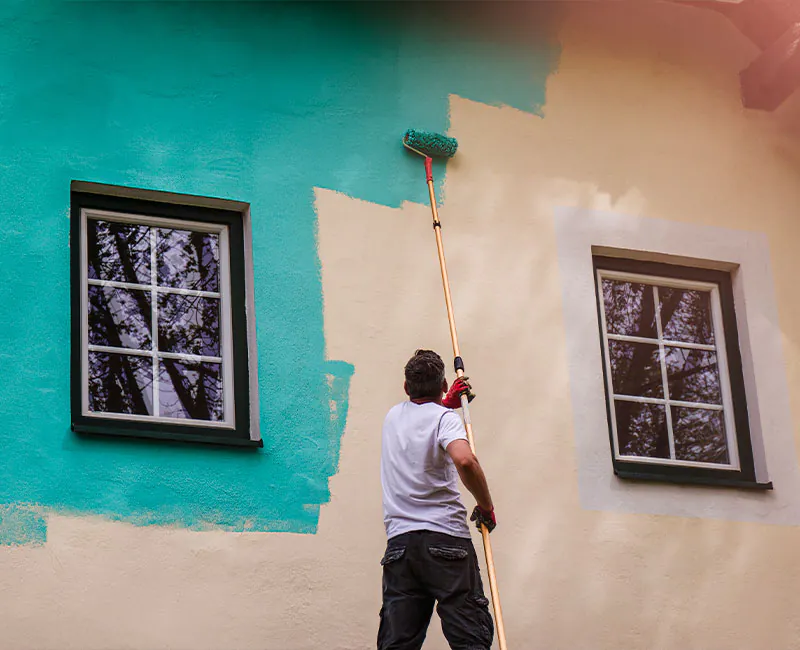
8. Apply Paint Using the Right Tools
Depending on your siding type, use brushes, rollers, or a sprayer. Apply two coats of paint for the best coverage and durability. Always follow the manufacturer’s instructions for drying time between coats.
9. Pay Attention to Weather Conditions
Ideal painting conditions include temperatures between 50°F and 85°F with low humidity and no rain in the forecast. Avoid painting in direct sunlight or windy conditions, which can cause paint to dry too quickly and unevenly.
10. Inspect and Touch Up
After the final coat has dried, inspect the entire exterior. Look for missed spots, drips, or thin areas. Touch up as needed to ensure a consistent, clean finish. Remove all masking materials and do a final cleanup of the work area.
Final Thoughts
A successful exterior house painting project requires careful planning and attention to detail. By following this 10-step checklist, you’ll be able to transform your home’s exterior with confidence and quality. Whether you’re doing it yourself or hiring a professional, preparation is the key to a flawless finish that lasts.
If you’re located in the Littleton, Denver, Highlands Ranch, Lakewood, or Morrison, CO area and looking for professional help, consider working with a trusted local painting company that specializes in exterior house painting. With the right team and the right process, your home can look brand new again.